IMAGES & DESIGNs
There are various ways to transfer images and designs onto stained concrete floors, but the two best methods are concrete engraving and concrete stenciling, due to the realistic, natural appearance produced, and the overall durability achieved.
concrete Engraving
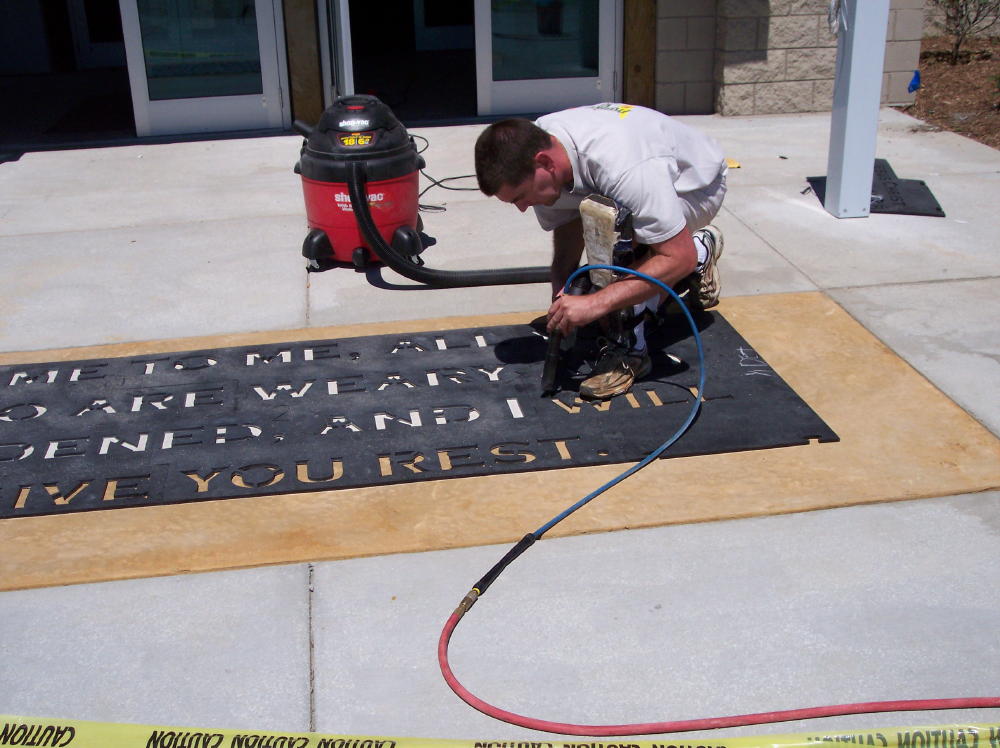
Using custom, air-powered cutting tools, a gas air compressor, and heavy-duty plastic templates, text, images, and designs, such as patterned borders, room motif accents, emblems, and company logos, can be precisely, efficiently engraved into horizontal concrete slabs - indoors and outside. Decorative concrete engraving becomes a permanent, distinct part of a concrete surface, similar to design work seen on tombstones and stone, residential sub-division vertical entry sign markers. At only an approximate depth of 1/16", decorative concrete engraving does not present a trip or safety hazard. Individual elements of engraved images and designs may be colored through use of acid-stains, solvent dyes, and acrylic water-based stains. Images and designs may be chosen from a preset catalog online, or converted from electronic files.
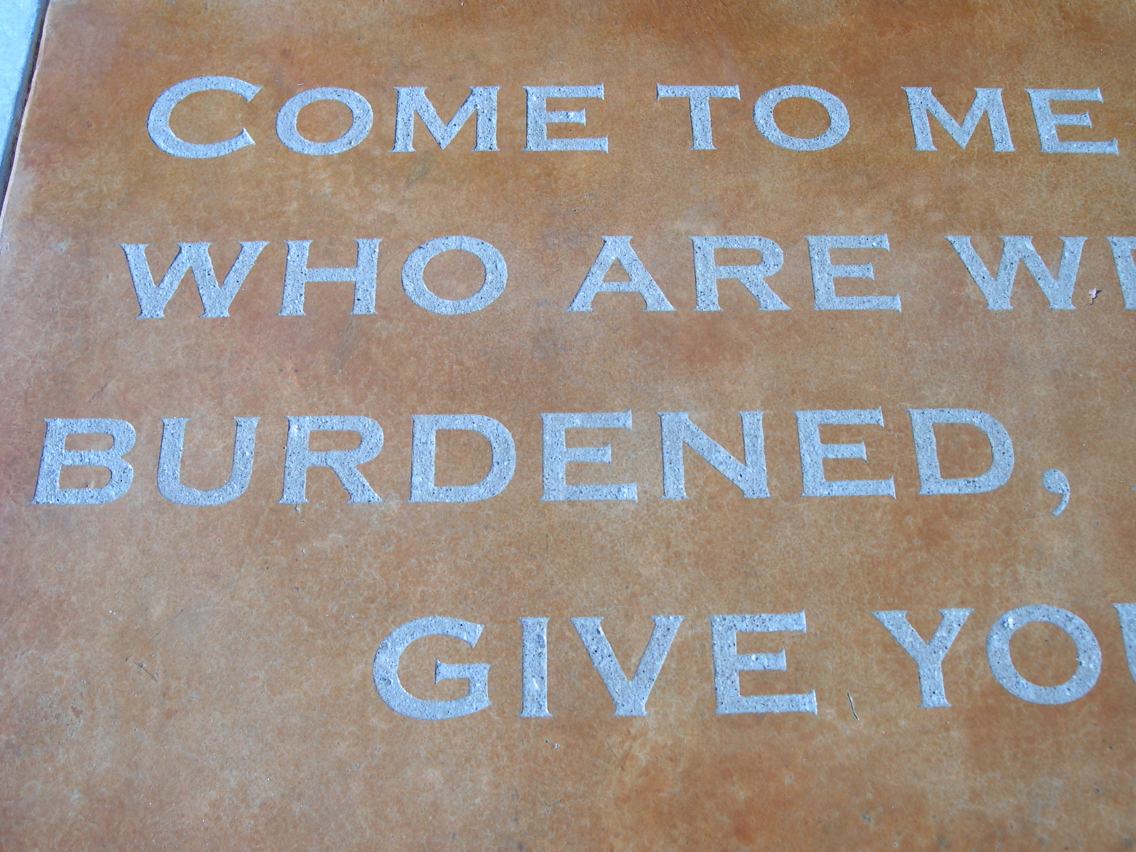
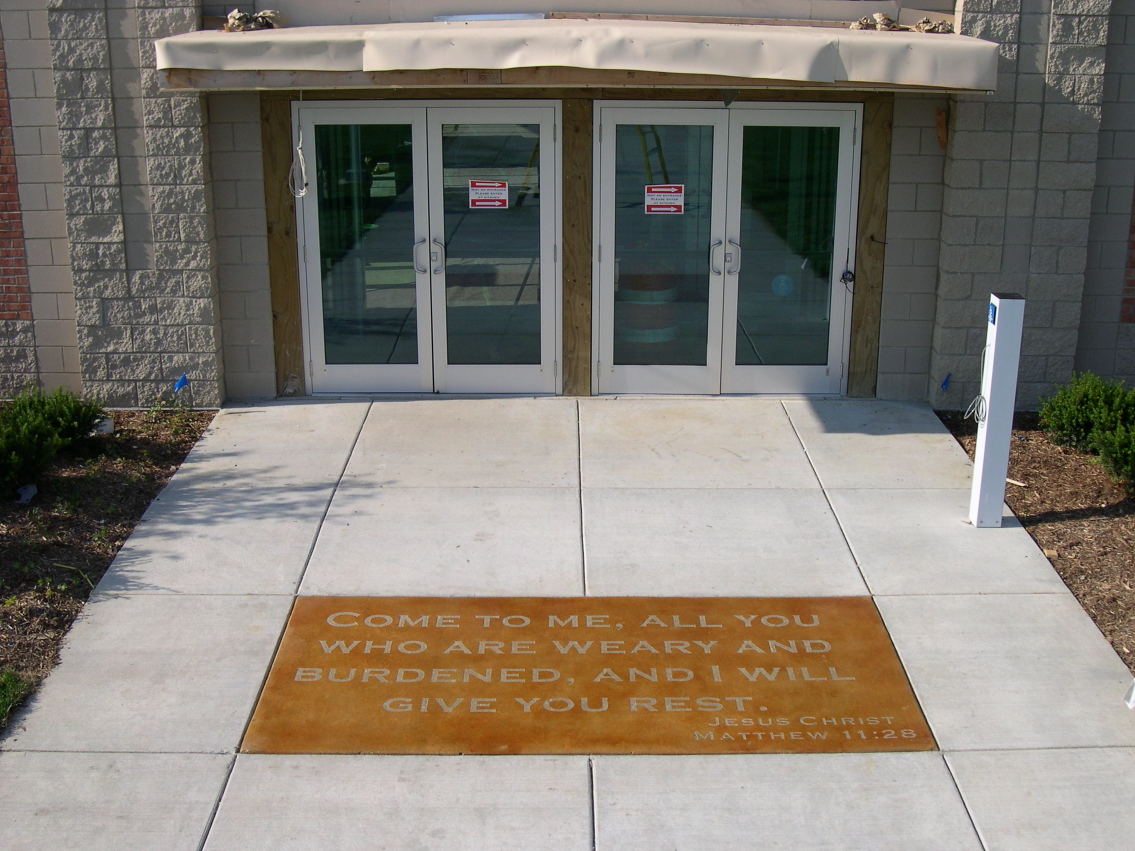
First set of photos shown below depicts concrete engraving project outside main entrance of church in Sterling Heights, Michigan. Pastor of church selected Bible verse that he wanted engraved into a specially-poured section of concrete, pre-colored with acid stain. He chose font type, size, and mitre; and one of our suppliers (Engrave-A-Crete) converted the verse into a template.
Second set of photos below reflects reproduction of a design on family heirloom jewelry case onto main floor of the heirloom owner's Irish pub restaurant in Farmington, Michigan, through decorative concrete engraving. You can read more about decorative concrete engraving process, and see online catalog of available templates at Engrave-A-Crete company web site.
A chronological view of the concrete engraving process: 1) the jewelry case; 2) the starting artwork; 3) the transfer of the image to floor; 4) the concrete engraving & staining of that image; and 5) the final image after applying the protective clear sealer.
One of the best things about concrete engraving is that the process produces little to no concrete dust. The cement particles that are chipped away during cutting are sufficiently large and heavy that they do not become airborne and present a respiratory hazard. The particles can simply be vacuumed up with a standard shop vac fitted with HEPA bag and cartridge filters.
There are other concrete engraving systems on the market that are not powered by an air compressor, including from Engrave-A-Crete, but these systems are either less precise and effective, such as automated or robotic engraving machines, or they are so elaborate and cost prohibitive that only a contractor who does concrete engraving full time would own one. These systems rely on sandblasting or shot-blasting. The equipment and system we use from Engrave-A-Crete is just as versatile, capable, precise and efficient.
Concrete stenciling
This concrete retaining wall stairway was sprayed with a thin cement overlay, using a limestone block stencil for patterning, to blend with the limestone block foundation of the home.
Concrete stenciling is generally used to create patterning effects on a stained concrete floor that are too complex or detailed to be saw-cut into the floor, with a concrete saw, or carved into it, with concrete engraving tools.
Decorative stencil patterns can be transferred onto a concrete floor in a variety of ways. One way is for a thin cement overlay to be sprayed or troweled over a vinyl stencil, which has been temporarily affixed to the floor. Then the stencil is removed once the overlay has set up and hardened. This was the method used in the photo on the right. This method is best used for repeating, grout-based patterns like brick, cobblestone, flagstone and slate, and it may be used over an entire concrete surface, or just for a border. The final depth of the grout pattern, below the surface of the overlay, once the stencil is removed, is very shallow: generally no more than 1/16". As such, a pattern created by using this method must be protected by a hard and durable concrete sealer. (See some of the most popular patterns for stenciled concrete overlays at: Artcrete Concrete Stencils.
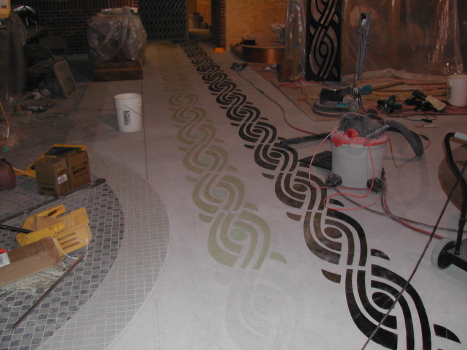
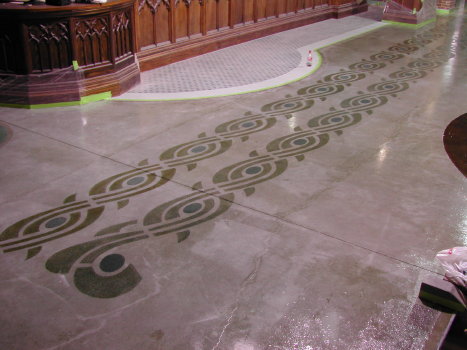
An example of an acid-etch, concrete stencil, border pattern from Modello that is too intricate and detailed to be reproduced through concrete engraving.
Another way for concrete stenciling to be done is to etch the pattern into the concrete surface, or a cement overlay, using gelled muriatic acid. This method is best for intricate, curved patterns that require even greater attention to detail than grout-based patterns, such as stylish borders, and complex custom images, like family crests or badges, rug art and marquetry. These intricate, detailed patterns also become a permanent part of the concrete and usually go no deeper than 1/32". The reason these types of patterns can be so precisely reproduced through etching is that gelled muriatic acid won't leach under the vinyl stencil that is temporarily affixed to the floor. (See samples and read more about the stencil etching process at: Modello Designs and Surface Gel Tek.)
Concrete stenciling can also be accomplished through the engraving process, as described above, for a project where a greater physical depth is desired for the pattern than can be achieved through concrete etching. Below are photos showing an example of a concrete stencil pattern that is being engraved into concrete.
A border pattern is transferred to the concrete floor in a bar using black spray lacquer and then those areas are engraved out and acid-stained.
Blue and green acid stain were used for this concrete stencil pattern. After rinsing the excess stain residue, a clear epoxy sealer was applied.
